Astronomy Enrichment Program

Control real telescopes. Capture real images. Explore the Cosmos.

What happens when a student points a professional telescope perched on a mountaintop thousands of miles away at a galaxy, and watches the image build on their own screen in real time?

Students don’t just learn about the night sky, they capture it. Using Slooh’s network of internet-controlled telescopes, students schedule real observing Missions, bring home real images of nebulae, star clusters, and galaxies, and complete guided Quests that teach the science behind every object they find.

This enrichment program is a project-based introduction to observational astronomy. No equipment, no telescope of your own, and no prior astronomy background required — just curiosity and a sense of wonder about what’s overhead.


What Students Will Do

  • Learn how telescopes work and how astronomers capture light from deep space
  • Control real, professional-grade telescopes through Slooh’s online observatory network
  • Schedule Missions to capture their own images of stars, nebulae, galaxies, and planets
  • Complete guided Quests that build real astronomy, physics, and space science understanding
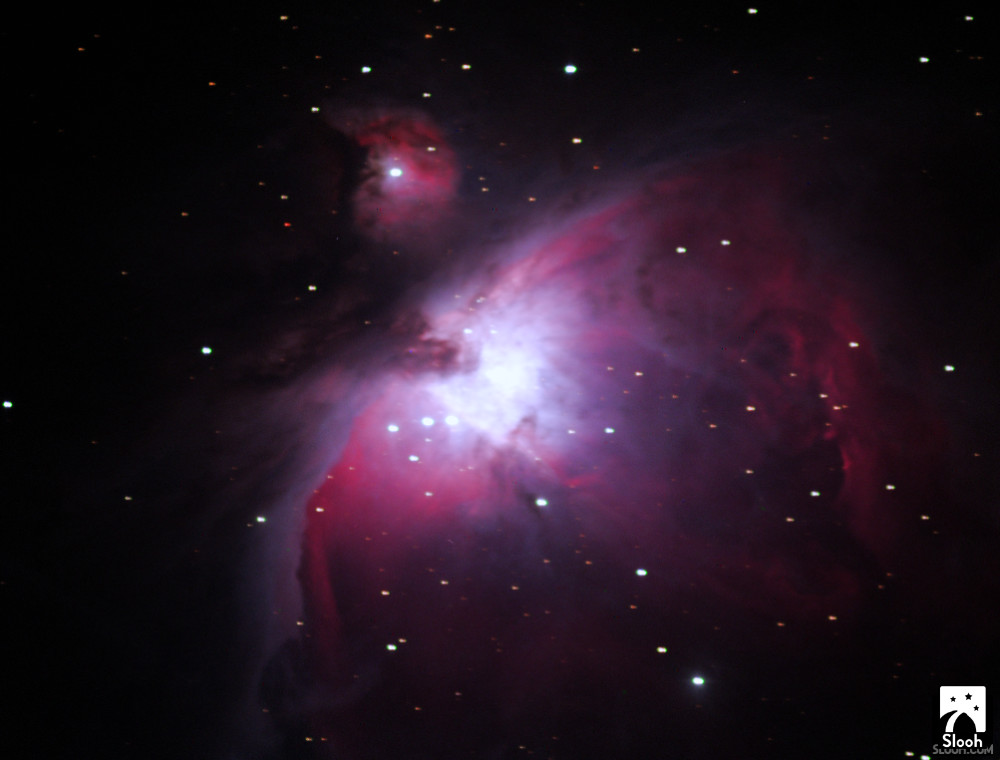
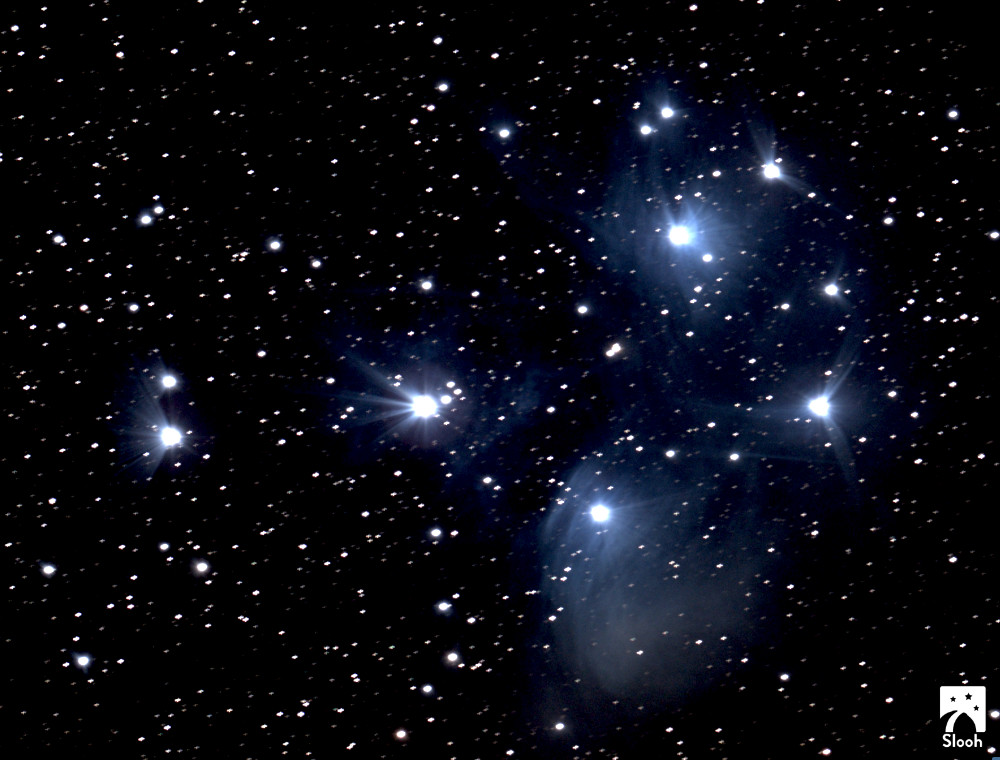
  • Identify and learn the stories behind objects like the Orion Nebula, Andromeda Galaxy, and the Pleiades
  • Earn Gravity Points and badges for every Quest completed
  • Build a personal portfolio of captured images
  • Create their own printable poster of the objects they’ve discovered

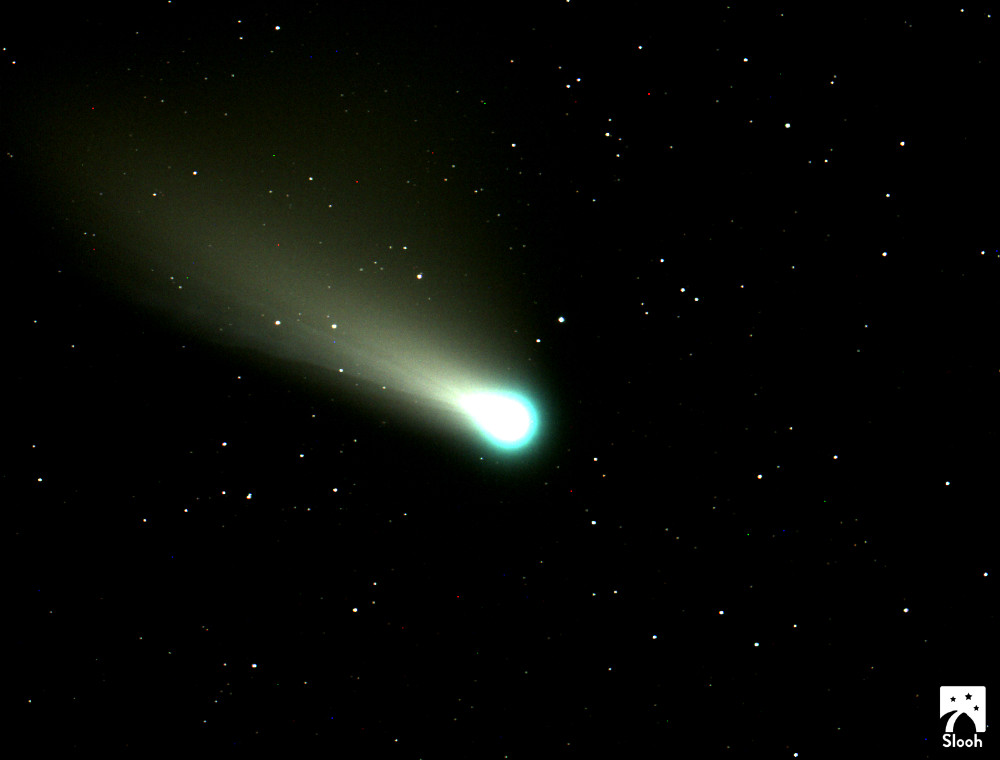
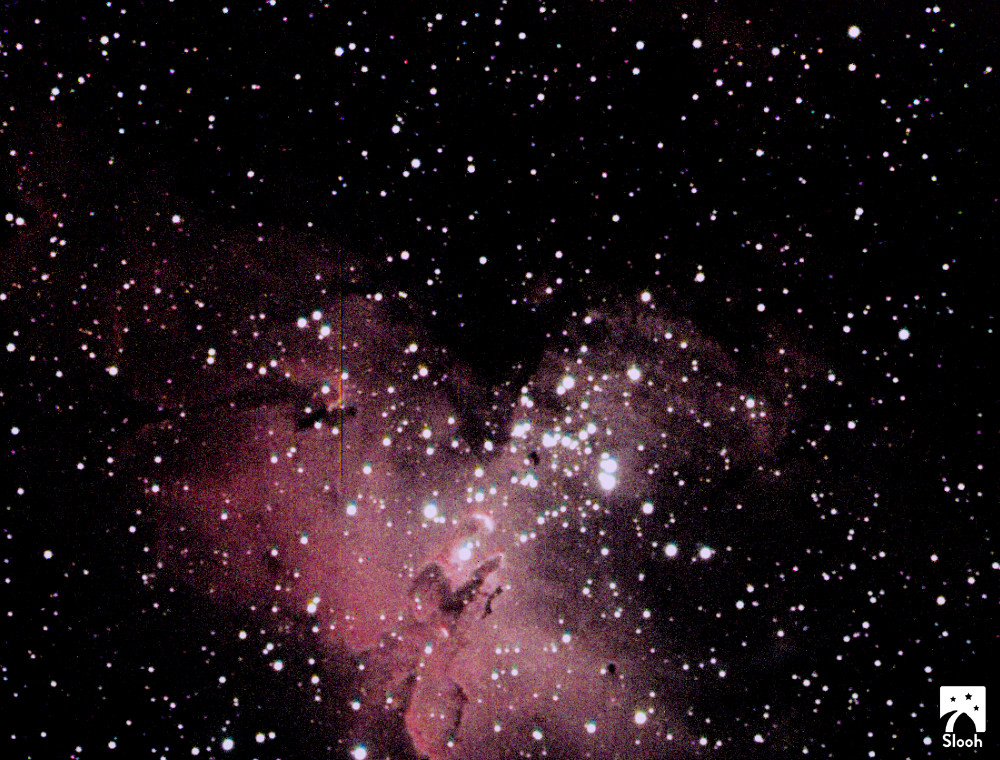
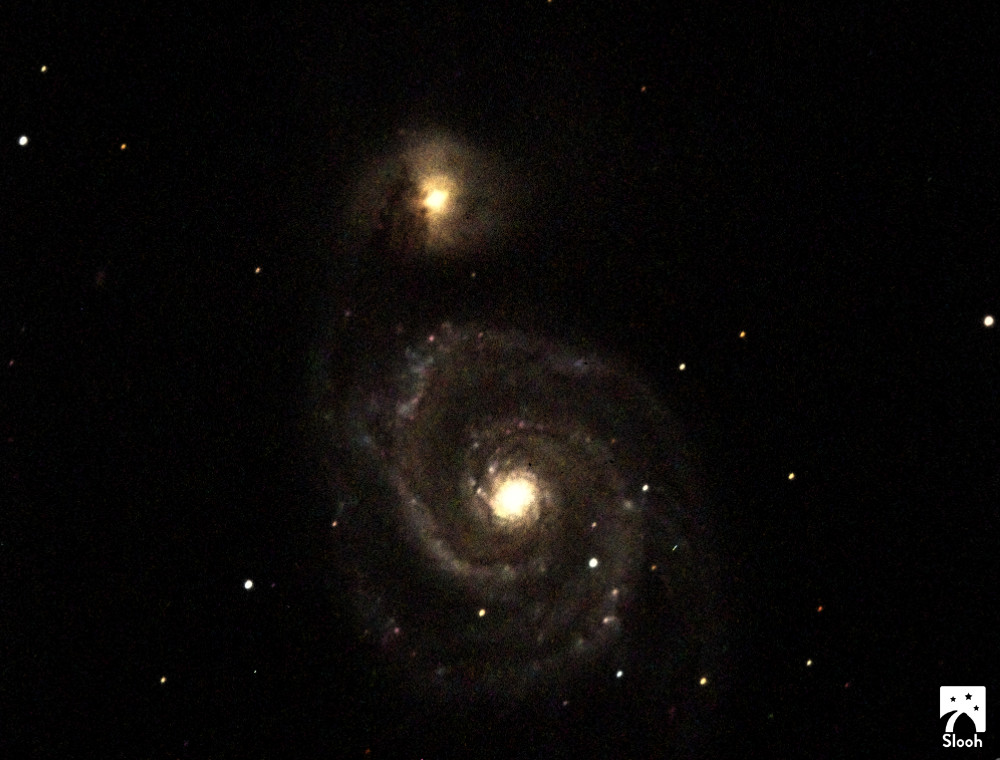
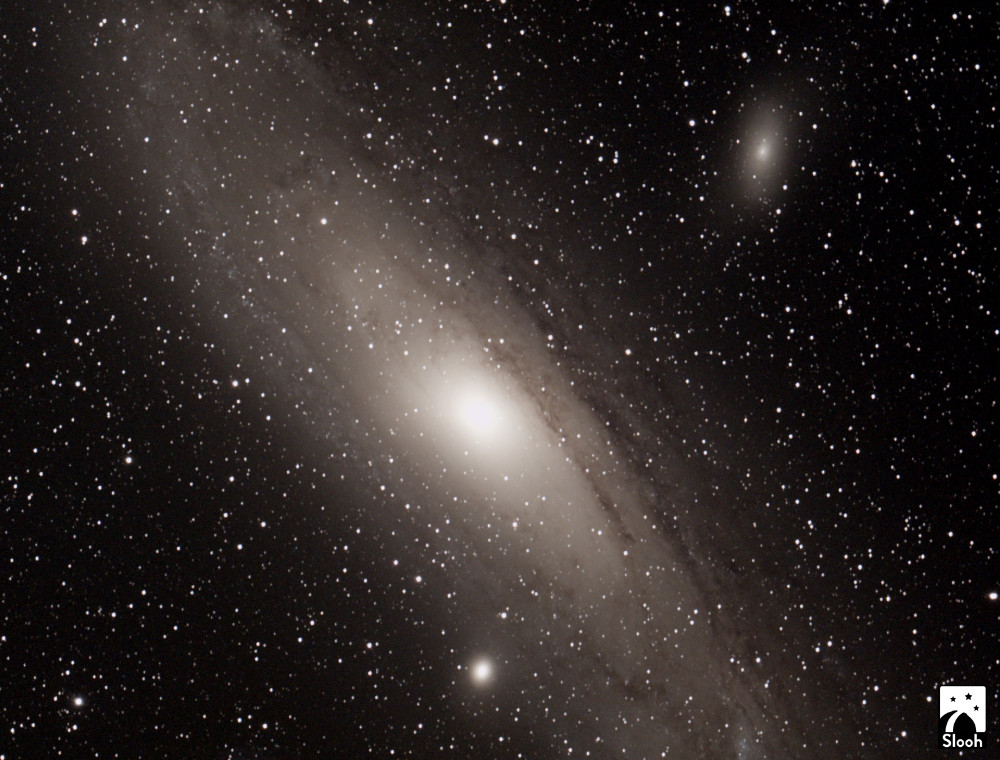
Real Images Captured Through Slooh’s Remote Telescope Network

Every of these images is a real capture and not a stock photo or simulation. They were all taken through the same telescopes students use in this program.
Guided Quests That Build Real Skills

BEGINNER & INTRODUCTORY QUESTS

I’ve gone on these Quests myself, from exploring the Orion Nebula to building a full catalog of celestial wonders, before bringing them into this program. Here is just a small sample of offerings:

The Moon – Lunar Phases

Intermediate

In this quest, students will capture seven phases of the Moon over the course of a lunar month. As the approximately 29.5-day lunar cycle progresses, you will watch the Moon’s appearance change from night to night much as Galileo Galilei did when he turned his telescope toward the Moon in 1610. You will control one of Slooh’s robotic telescopes at its high-altitude observatory at the Institute of Astrophysics of the Canary Islands, capturing your own images of Earth’s natural satellite.
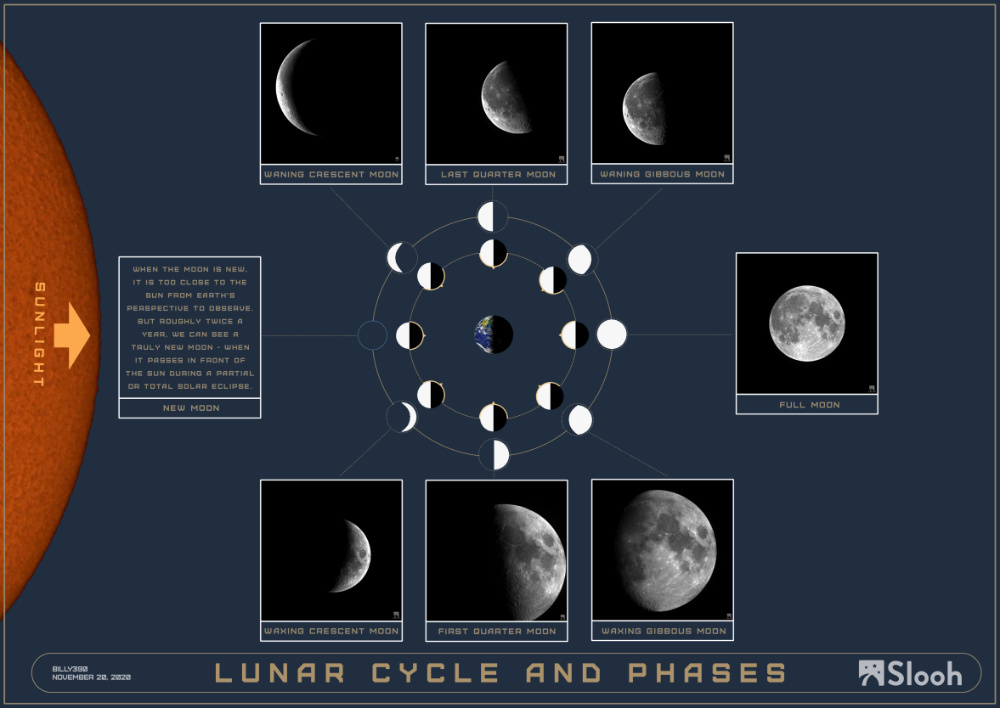
Poster of the lunar phase quest

Cosmic Explorer

Beginner

Students use Slooh’s robotic telescope network to capture six spectacular wonders of the heavens: the Sun, the Moon, a galaxy, a planetary nebula, an emission nebula, and a star, then finish by building a poster of their captures.
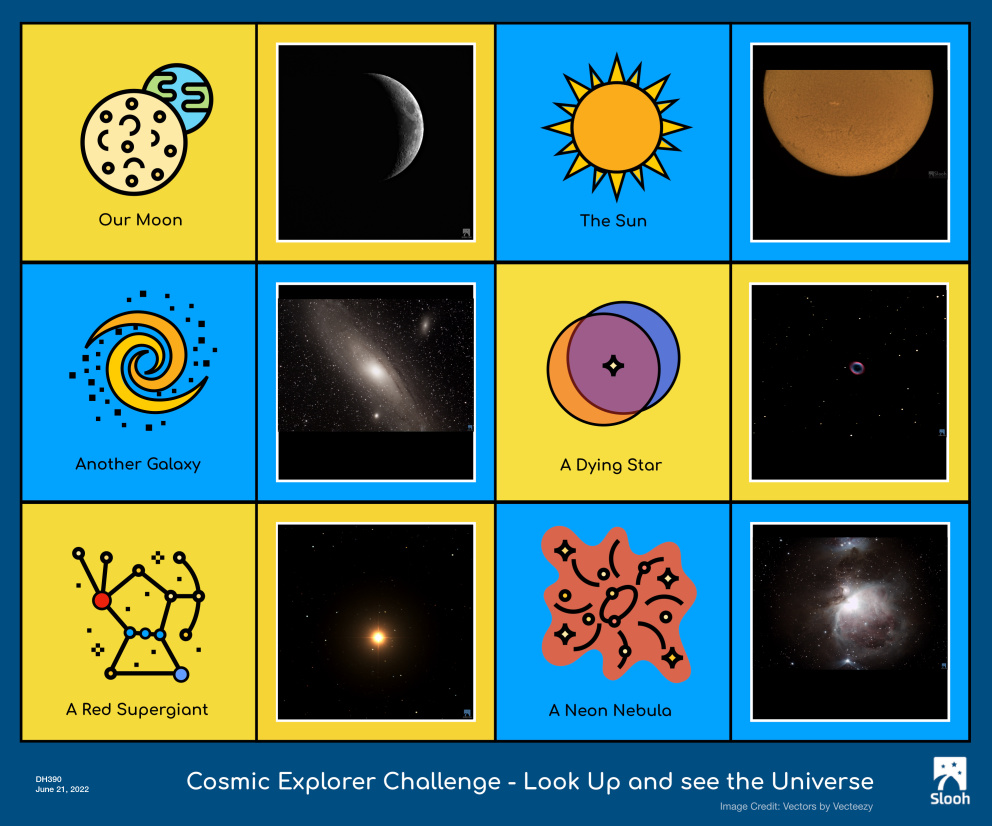
Poster of the cosmic explorer quest

The Hunter

Beginner

“The Great Nebula in Orion is the finest nebula in the sky.” Students hunt down and capture the Orion Nebula themselves, learning why it’s one of the most photographed objects in the night sky.
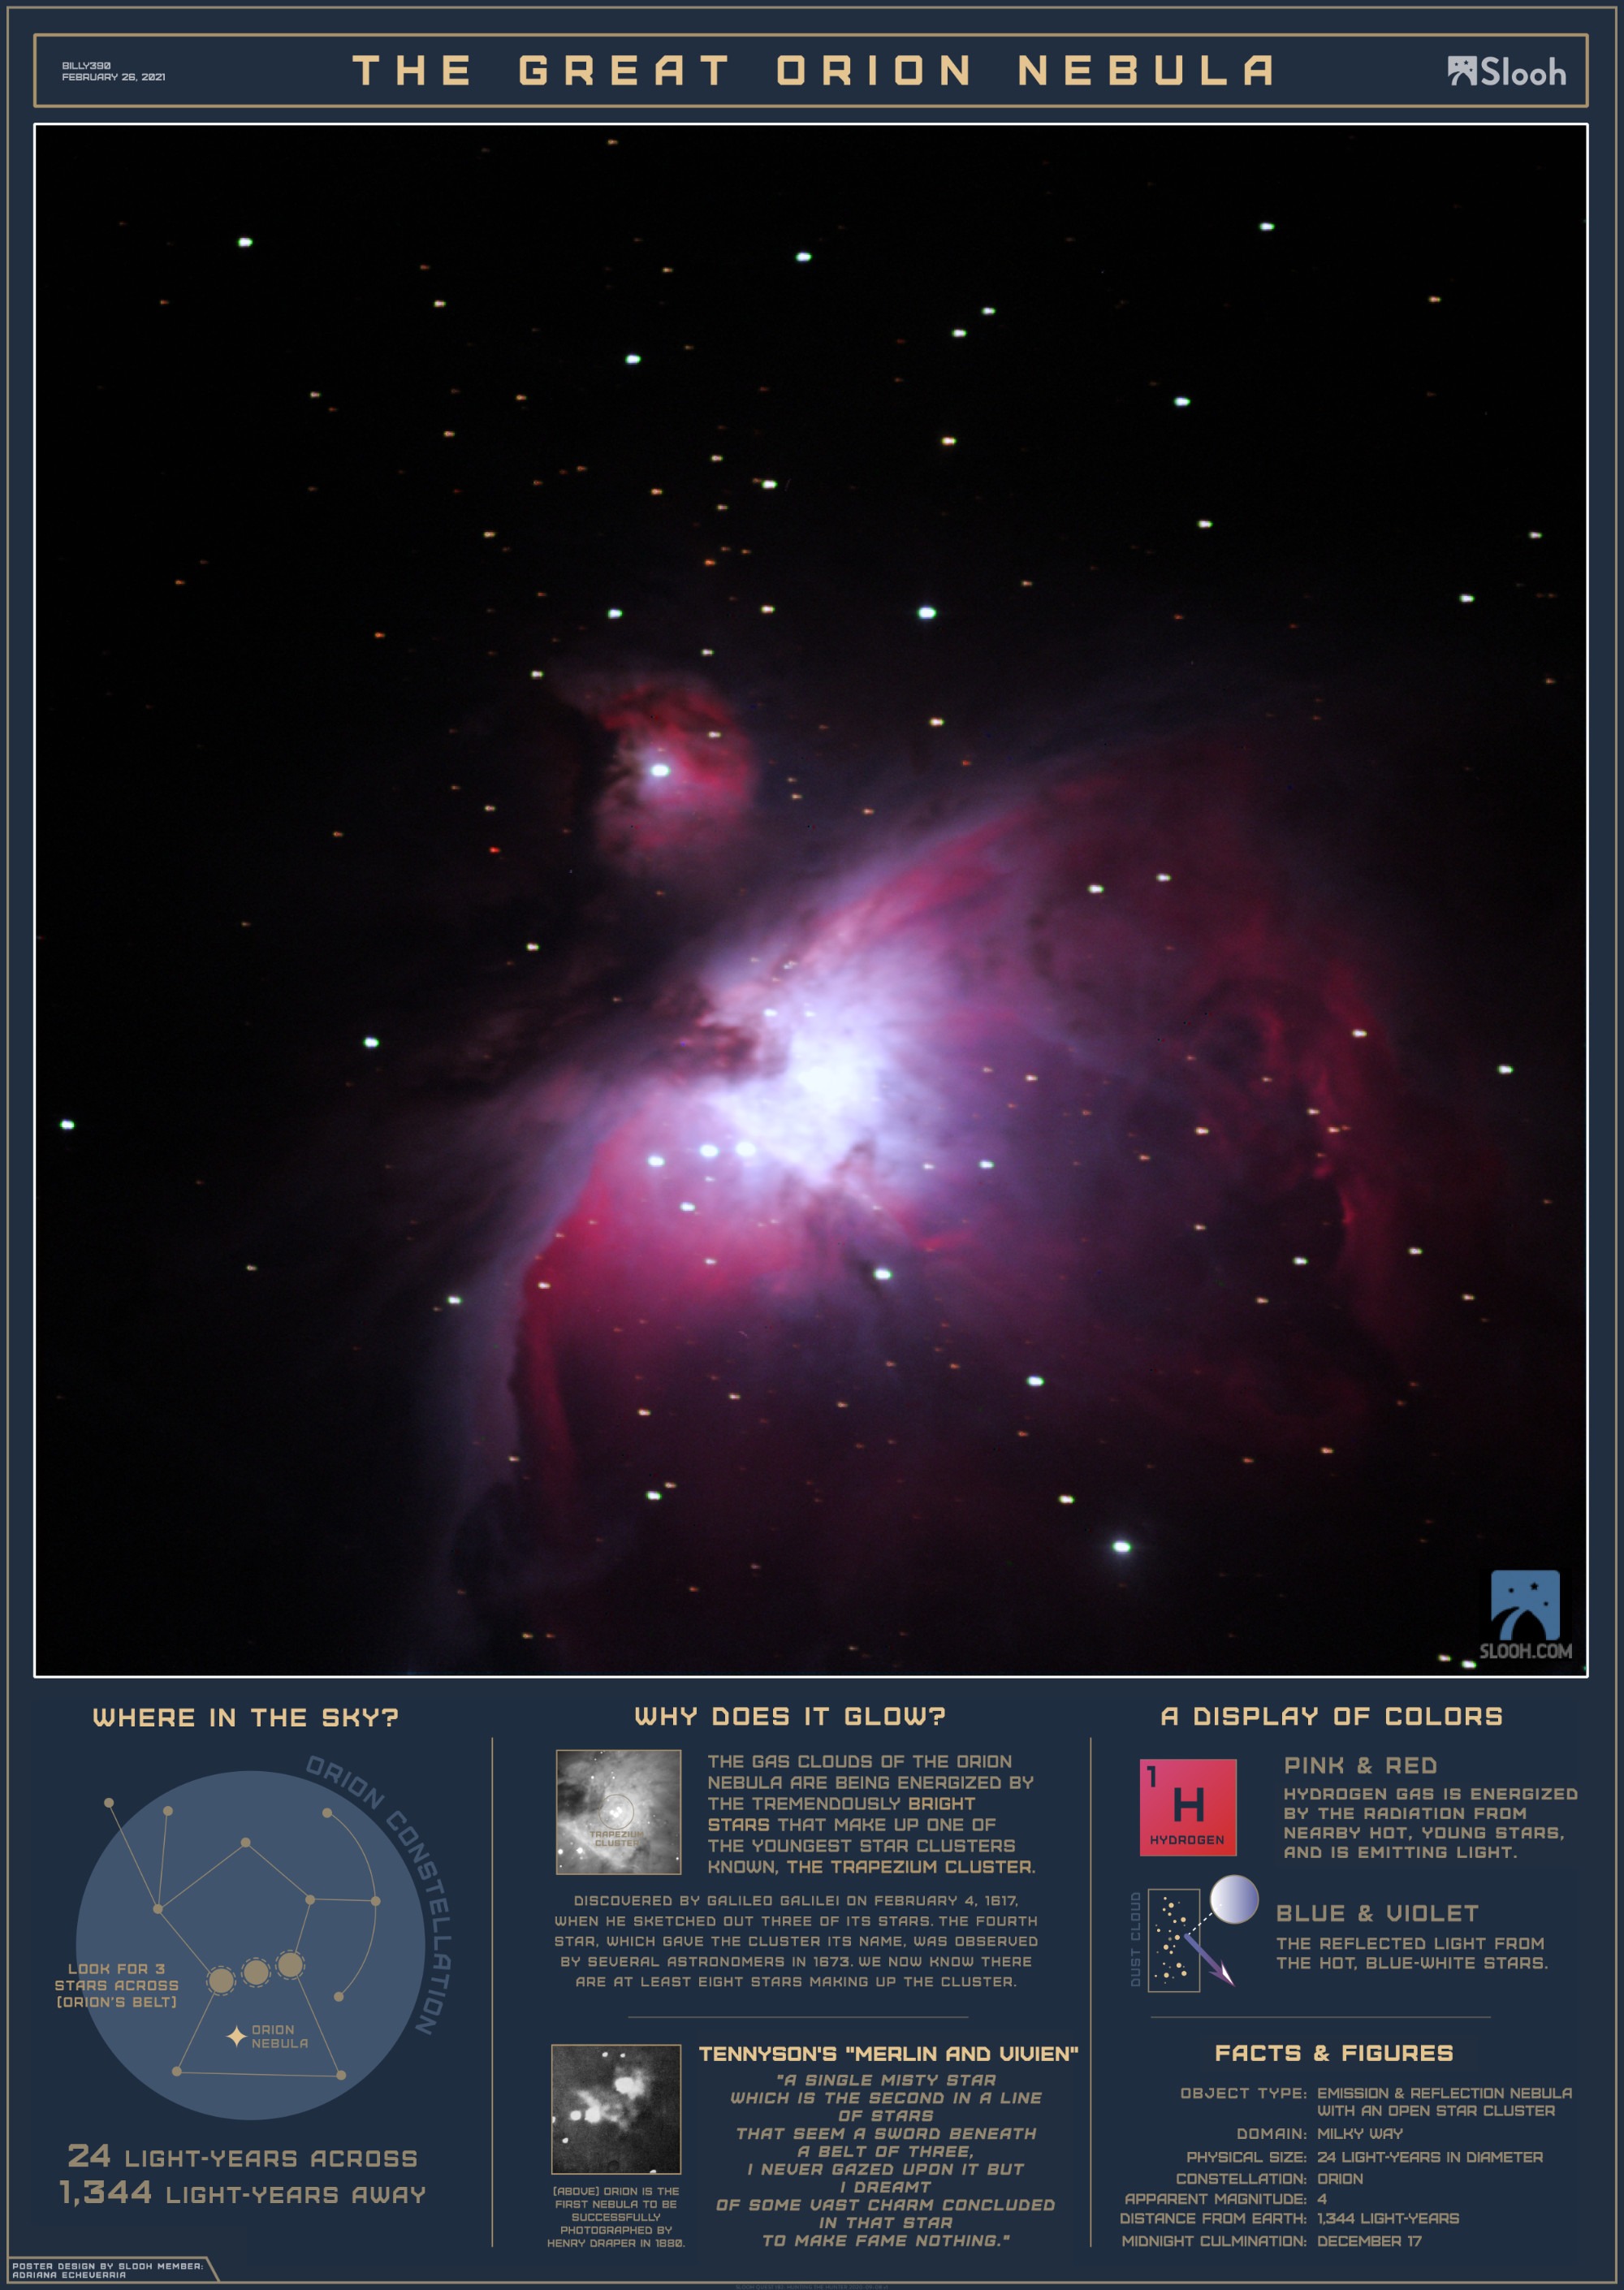
Finished poster from The Hunter Quest, showing the Orion Nebula with facts about its distance, size, and the Trapezium Cluster.

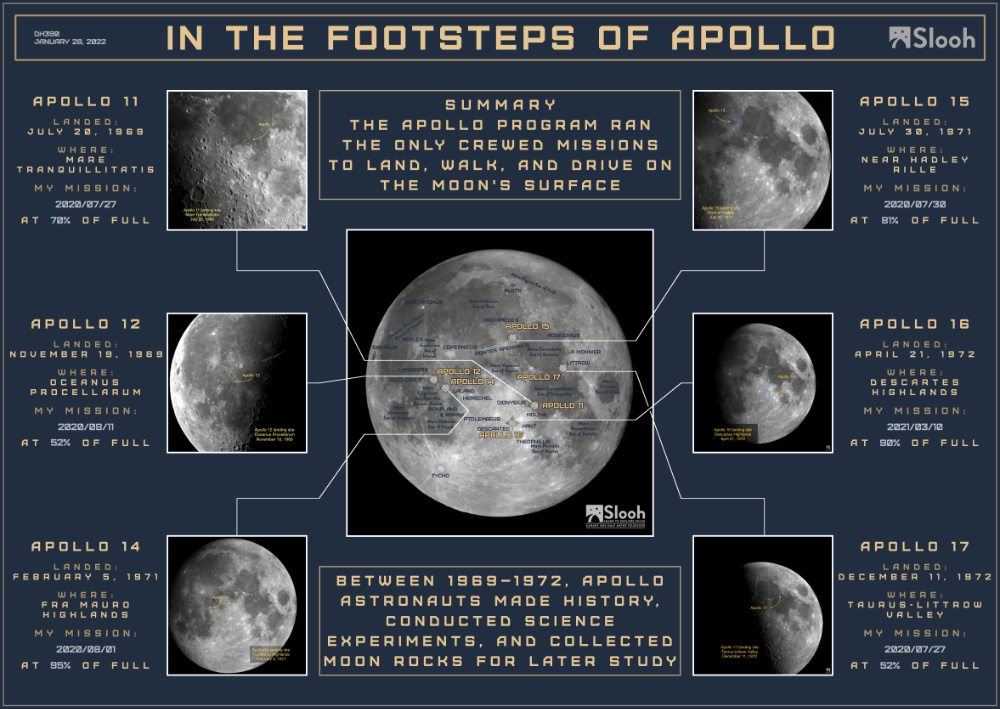
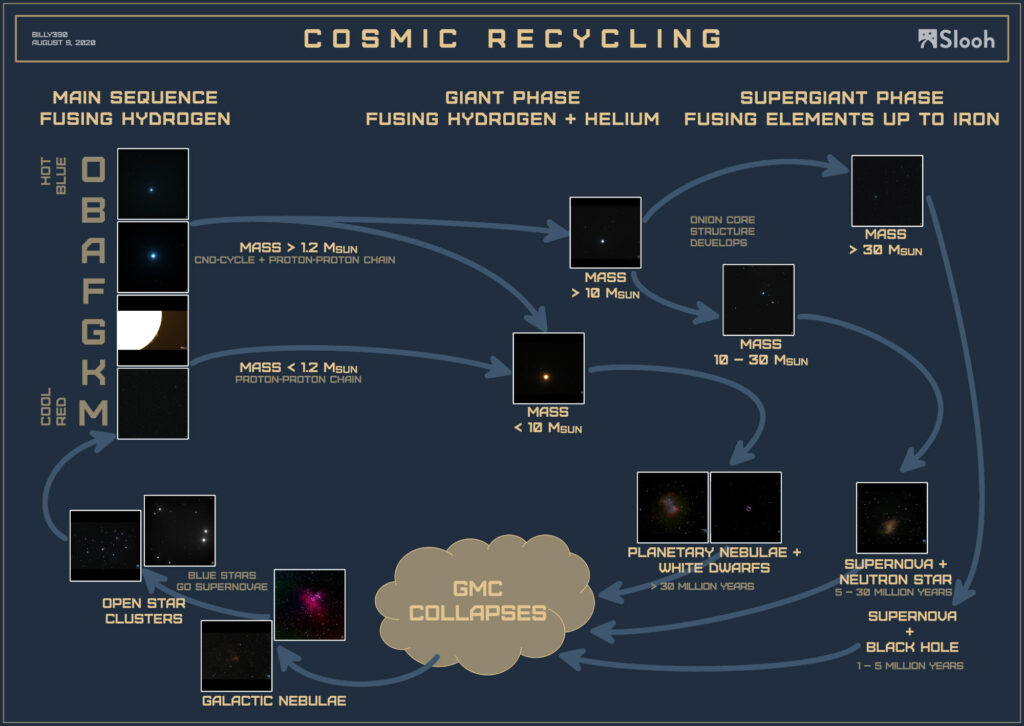
Sample Quest Posters

WHAT A FINISHED QUEST LOOKS LIKE

Every Quest ends with a poster the student builds themselves — part image gallery, part science fact sheet. These are real examples from completed Quests.

What’s Included

  • Guided enrichment sessions introducing telescopes, light, and the night sky
  • Full access to Slooh’s worldwide network of remote, robotic telescopes
  • A curated set of beginner Quests, with Mission scheduling built in
  • A personal image portfolio, growing with every capture
  • Gravity Points, badges, and a printable poster of completed work
  • Instructor guidance throughout every Mission and Quest

What Makes This Program Different?

This isn’t a simulation and it isn’t a video. When a student schedules a Mission, a real telescope in the Canary Islands, Chile, or Australia turns to point at the real sky, right now, because they told it to. That’s the moment astronomy stops being a page in a textbook and becomes something a student has command of.

Designed for curious minds of any experience level — whether a student dreams of studying astrophysics, loves photography, or just wants to know what that bright dot overhead actually is, this program is a hands-on way into one of the oldest and most inspiring sciences there is.
Revisiting Eddington: Measuring Starlight Deflection

In 1919, Arthur S. EddingtonFrank W. Dyson, and Mr. C. Davidson famously led an expedition to photograph a total solar eclipse and confirm Einstein’s prediction that massive bodies like the Sun could bend starlight. That photographic evidence became one of the first major tests of General Relativity. Here, using a digital remaster of the image, I’ll attempt to recreate the experiment measurements.

Tools and Data

These are the things needed to get going:

  • high-quality digitized image of the 1919 eclipse from ESO (link). This version uses image processing techniques to improve the image quality from the original photo plates.
  • sky map from Stellarium, set to the same region of sky but offset by 6 months to avoid the Sun’s interference.
  • Affinity Photo for image overlay and alignment.
  • Manual centroiding and pixel measurements to detect deflection.

Image Alignment

To ensure accuracy, I anchored both images using two distant reference stars — HR 1375 and 69 Tauri that are far enough from the eclipsed Sun to remain unaffected by gravitational lensing.

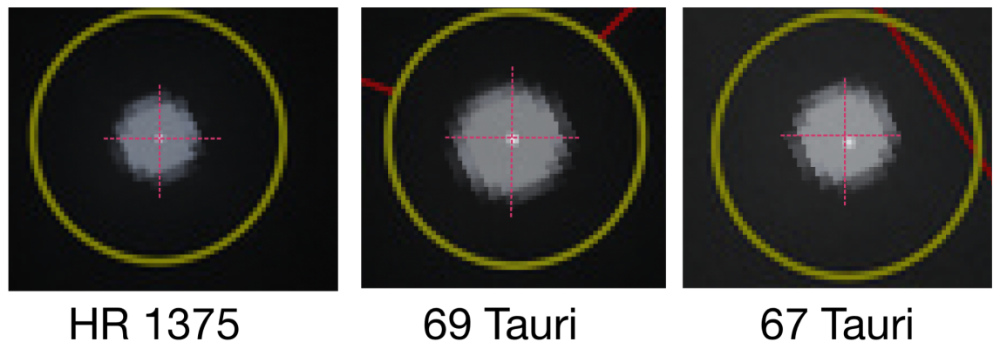
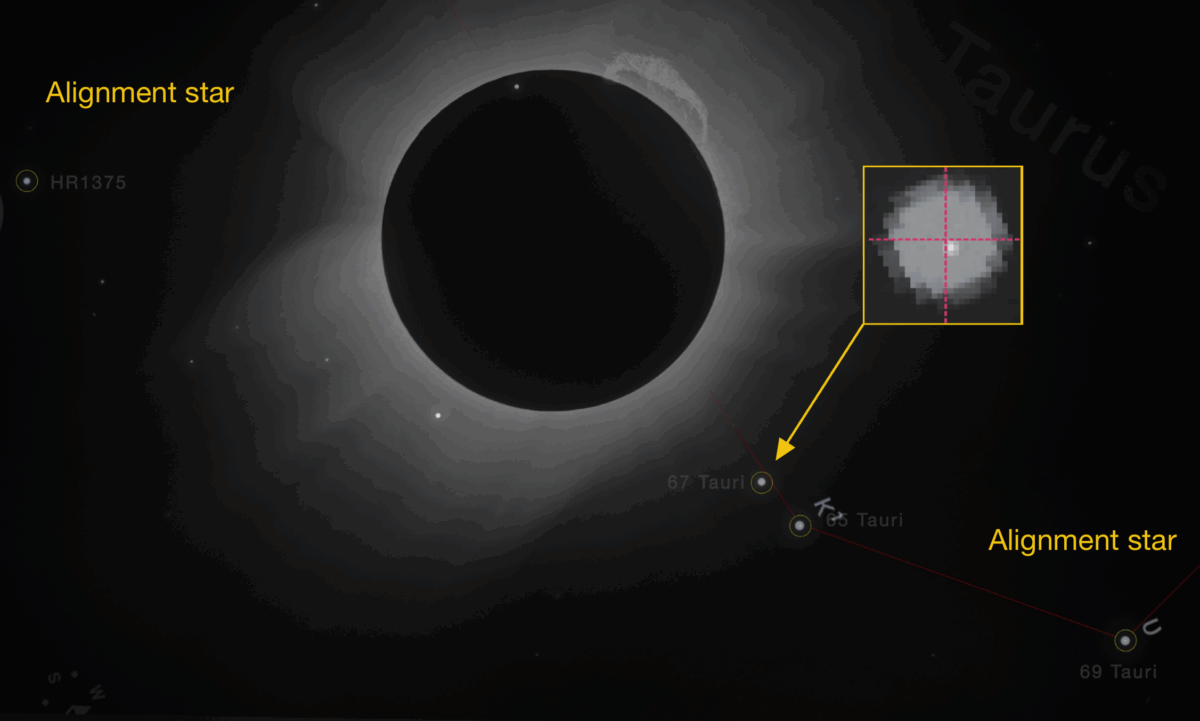
I loaded the original eclipse image as the background layer in Affinity Photo and locked it in place. Then I added the Stellarium-generated star field as a transparent overlay on top. By adjusting the opacity, I was able to see both sets of stars simultaneously for alignment. Notably, the star images from Stellarium appear significantly larger than the more compact and sharper ESO eclipse stars. In the cutouts shown in Figure 1, you can clearly see the difference. Each Stellarium star forms a large diffuse blob and the ESO image has its star as a bright point at the center.

After carefully stretching, rotating, and nudging the top layer, I aligned the two images so that the reference stars matched. It took a fair bit of trial and error, but I eventually achieved alignment within ±0.5 pixel, which is pretty decent for a manual process. This gave me confidence that any measured offsets for stars near the Sun were not due to alignment error — a point further supported by the zoomed-in cutouts shown in Figure 1, where the distant stars remain well-aligned.

Figure 1: Zoomed-in cutouts of reference and target stars. HR 1375 and 69 Tauri were used to align the two image layers within ±0.5 pixel. 67 Tauri shows a slight offset down and to the right, approximately 0.5-1.0 pixels — consistent with gravitational deflection predicted by General Relativity.

Here’s the annotated overlay, with 67 Tauri circled, and a zoomed inset revealing a small but visible offset between the eclipse photo and the reference sky.

potw1926a with Stellurium overlay annotated

Measuring the Deflection

The distance between 65 Tauri and 67 Tauri in the eclipse photo was measured as:

  • 158.7 pixels — determined by measuring the horizontal and vertical offsets between the two stars and applying Pythagoras’ theorem: \( \sqrt{105^2 + 119^2} \approx 158.7\)
  • Calculated angular separation340 arcseconds

This gives a plate scale of

Scale = 340 arcsec / 158.7 pixels ≈ 2.14 arcsec/pixel

Zooming in on 67 Tauri, the observed centroid deflection between the reference and eclipse position is down and right and approximately:

[0.75 to 1 pixels] × 2.14 arcsec/pixel ≈ 1.61 to 2.14 arcseconds

Comparison to Einstein’s Prediction

\( \delta = \frac{4GM}{c^2 R} \)

This is Einstein’s formula for the deflection angle ( \( \delta \) ) of starlight grazing the Sun, where:

Gravitational constant: \( G = 6.674 \times 10^{-11}~\text{m}^3\,\text{kg}^{-1}\,\text{s}^{-2} \\ \)
Mass of the Sun: \( M = 1.989 \times 10^{30}~\text{kg} \\ \)
Speed of light: \( c = 3.00 \times 10^8~\text{m/s}\\ \)
R is the radius/distance from the Sun’s center where the light ray is passing

At the solar limb where R is the same as the Sun’s radius then:

\( R = R_\odot = 6.96 \times 10^8~\text{m} \). Substitute this into the formula like so:

\( \delta = \frac{4GM}{c^2 R_\odot}
= \frac{4 \times (6.674 \times 10^{-11}) \times (1.989 \times 10^{30})}
{(3.00 \times 10^8)^2 \times (6.96 \times 10^8)} \)

\( \delta \approx 8.487 \times 10^{-6} \text{ radians} \), the deflection angle at the Sun’s rim.

And converting radians arcseconds (206265 arcseconds per radian) we get

\( \delta \approx 8.487 \times 10^{-6} \times 206265 \approx 1.75 \) arcseconds

Adjust for 67 Tauri’s apparent distance from the Sun

For 67 Tauri, which lies approximately 1.2–1.5 solar radii (r) from the Sun’s center, the expected deflection is:

\( \delta = \frac{4GM}{c^2 R_\odot} \cdot \frac{R_\odot}{r} \approx \frac{1.75^{”}}{r} \)

\( \delta \approx 1.17^{”} \quad \text{to} \quad 1.46^{”} \)

So, the measured deflection of approximately 1.61 to 2.14 arcseconds is a bit higher than expected. However, given error sources like:

  • Image projection distortions
  • Inaccuracies in the Stellarium overlay projection
  • Sub-pixel centroiding uncertainty
  • Manual centroiding for alignment and offset detection

…the result is remarkably close and very much in the spirit of Eddington’s original work.

This small experiment was a fun way to relive one of the greatest moments in science. With a bit of patience and publicly available images, it’s possible to experience Eddington’s achievement for yourself.


Angular Separation Calculation

To calculate the angular separation between 65 Tauri and 67 Tauri, use coordinates:

65 Tauri
RA = 04ʰ 25ᵐ 22.1655ˢ = 66.34235°
Dec = +22° 17′ 37.9375″ = +22.29387°

67 Tauri
RA = 04ʰ 25ᵐ 25.0152ˢ = 66.35423°
Dec = +22° 11′ 59.9876″ = +22.19999°

The spherical angular separation formula:

\(\theta = \arccos\left[
\sin(\delta_1)\sin(\delta_2) +
\cos(\delta_1)\cos(\delta_2)\cos(\alpha_1 – \alpha_2)
\right]\)

Substituting the values (converted to radians):

\(\alpha_1 = 1.157892441 \, \text{rad}, \quad \alpha_2 = 1.158099786 \, \text{rad}\)

\(\delta_1 = 0.3891014345 \, \text{rad}, \quad \delta_2 = 0.3874629194 \, \text{rad}\)

\(\theta = \arccos\left[\sin(0.38910..)\sin(0.38746..) + \cos(0.38910..)\cos(0.38746..)\cos(1.15789.. – 1.15809..) \right]\)

\(\theta \approx \arccos(0.9999986392) \approx 0.001649 \, \text{rad}\)

Converting to arcseconds:

\(\theta = 0.0016497 \times \frac{180 \times 3600}{\pi} \approx 340\)

So, the angular separation between 65 Tauri and 67 Tauri is approximately \( \boxed{340~\text{arcseconds}}\).