Here is how to move a simple WordPress blog to Azure Web App Service. This method is not the simplest but it works well enough and is pretty clean.
Backup
Export the database with a tool such as phpMyAdmin. Then zip up all the files from the wp-content folder.
Or you could use a commercial plugin to to the backup and restore. I don’t like the ones I’ve tried and the manual way is fairly simple.
Create Web App in Azure
- In Azure portal, Create a New Resource
- Search for “WordPress” then create
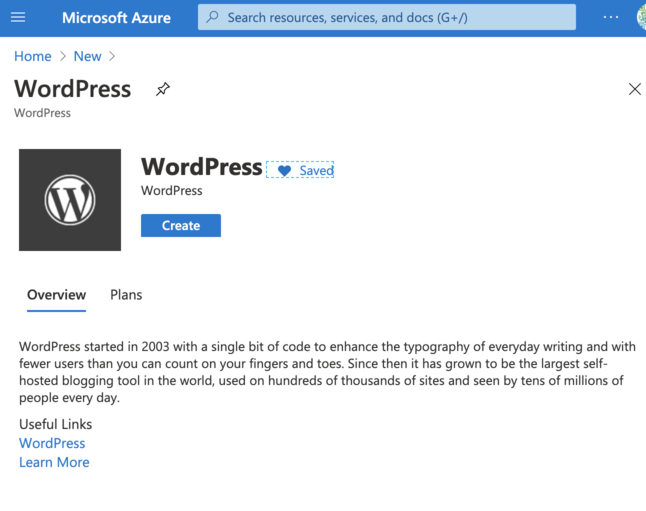
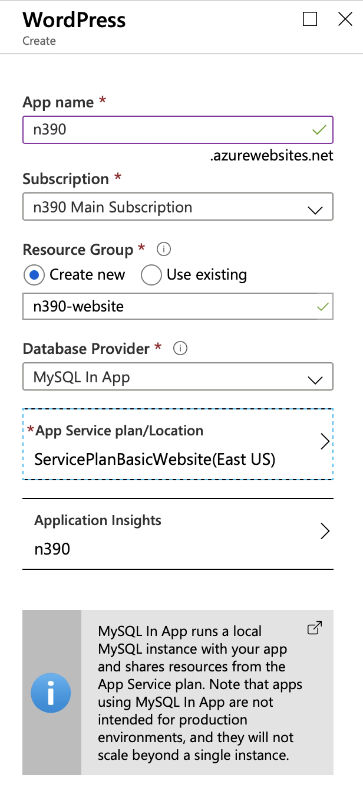
Next, fill out the forms with values that make sense, although a few things to pay attention to are:
Database Provider
If your web site gets very little traffic, then choosing “MySQL In App” is reasonable and it’ll save money; About $250/month. The main limitation with this option is the site cannot scale out to handle sudden, heavy loads. However, you can “scale up” the service tier which may help.
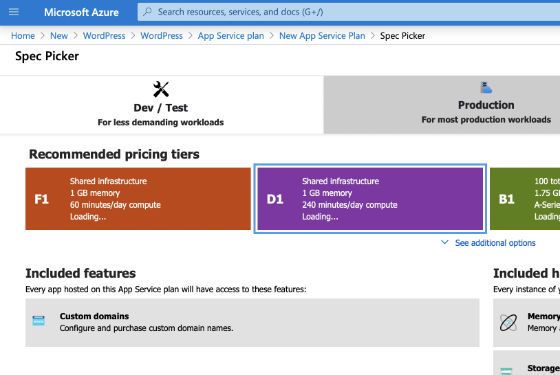
App Service Plan
Choose the app service that’s right for you. In this example, we picked the lowest price tier and expect it’ll be upgraded later after some testing.
Keep in mind you can reasonably add up to 5 or so websites within a production tier service plan if they are low traffic and not resource needy.
Configure WordPress
After the deployment, go to the resource overview page and copy the site’s URL.
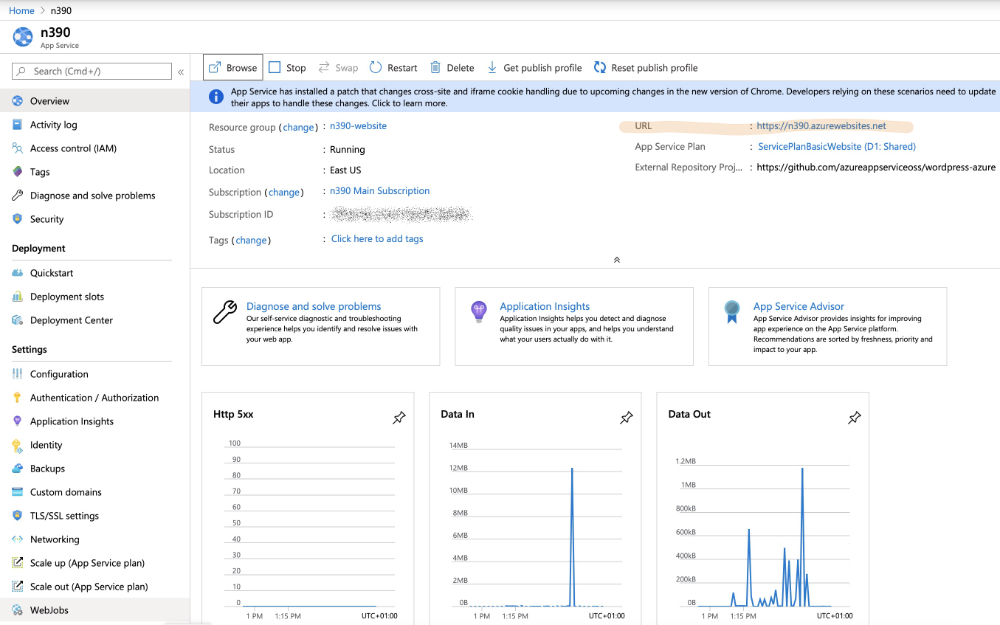
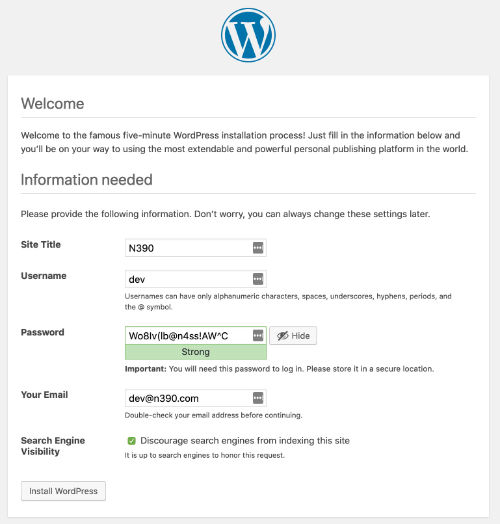
Follow URL to the WordPress setup page and do the initial setup.
Fill out the form to initialize WordPress then login to the fresh site. The username and such isn’t needed beyond getting logged in for the first time because in the next steps the whole site is restored from backup.
Restore from the backup
How to do this part depends on what method used to backup the website. If you are using a plugin then install it and follow its instructions.
Manual restore
Manual restore is basically two steps:
- Import the database using the phpMyAdmin tool
- Upload the wp-content folder contents to the website
Import database – Click on “MySQL in App” on the left-side menu then find “Manage” to use the phpMyAdmin tool. Use phpMyAdmin to drop the existing database tables then import your site’s database.
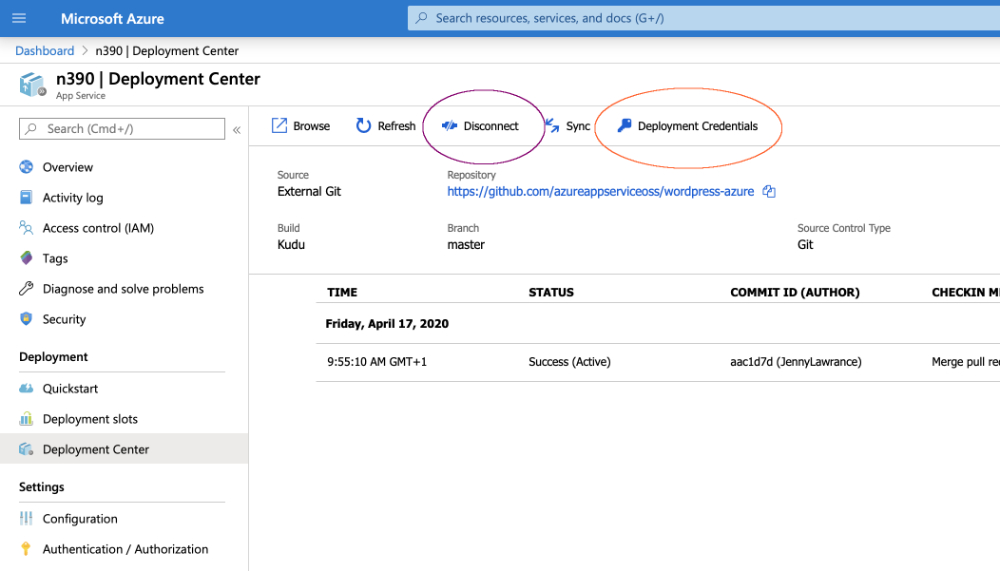
Upload Files – First you need the login credentials. Look in Deployment Center -> “Deployment Credentials” to get what you need to connect to the document root of the web app, using SFTP.
Using your favorite SFTP application, connect to the website and upload your wp-content folder. I recommend zipping up the wp-content folder and upload that. Then connect using the console to unzip the file.
Console/Terminal – Click on “Console” in the left-side menu to use command line tools such as Zip, Gzip, Tar, etc.
Finish up
After the import is successful, login with an account from your restored website and do:
- Go to Settings -> Permalinks and click the Save button to rebuild them.
- Edit the wp-config file “Authentication Unique Keys and Salts” and perhaps other settings to reflect what you had before. Do Not replace the wp-config file outright because it is specifically configured to work with Azure.
- Back in the Deployment Center, disconnect from the gitHub repository; You don’t need it anymore.
Extras
For the most part, the site is ready to use and it’s a good idea to review everything is working now.
Fix URLs
Install “Better Search Replace” plugin to change your website URLs if needed. Usually this is because your domain name had to change. For example, “n390.com” moved to “n390.com”.
Add a custom domain name
After the content is imported you can browse the App Service URL and everything should be as it should. However, the hostname is using YOURWEBSITE.azurewebsites.net domain name.
On your Azure Web App blade’s left-side menu go to Custom Domain and click on “Add a custom domain”. Follow the instructions to validate ownership then it should be good-to-go.
Add TLS/SSL
Good news! SSL is available in Azure. But, if you want to add one to your custom domain, then you gotta upgrade to at least the Basic Plan.
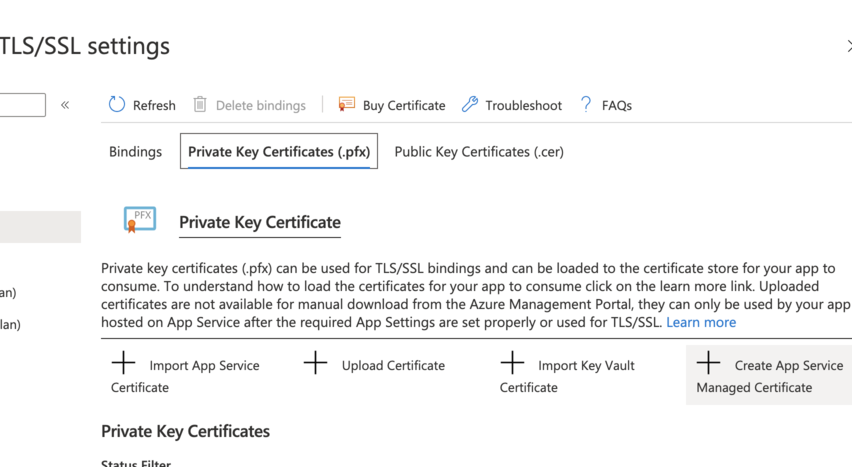
Click on TLS/SSL settings in the left-side menu then look in “Private Key Certificates” to create your own. Follow these instructions for complete details.
