Steps in Brief
- Audit the disks currently attached
- Create a new data disk
- Attach the disk to the virtual machine
- Prepare the new disk
- Mount the disk
- Fix so it automatically mounts
Audit the disks currently attached
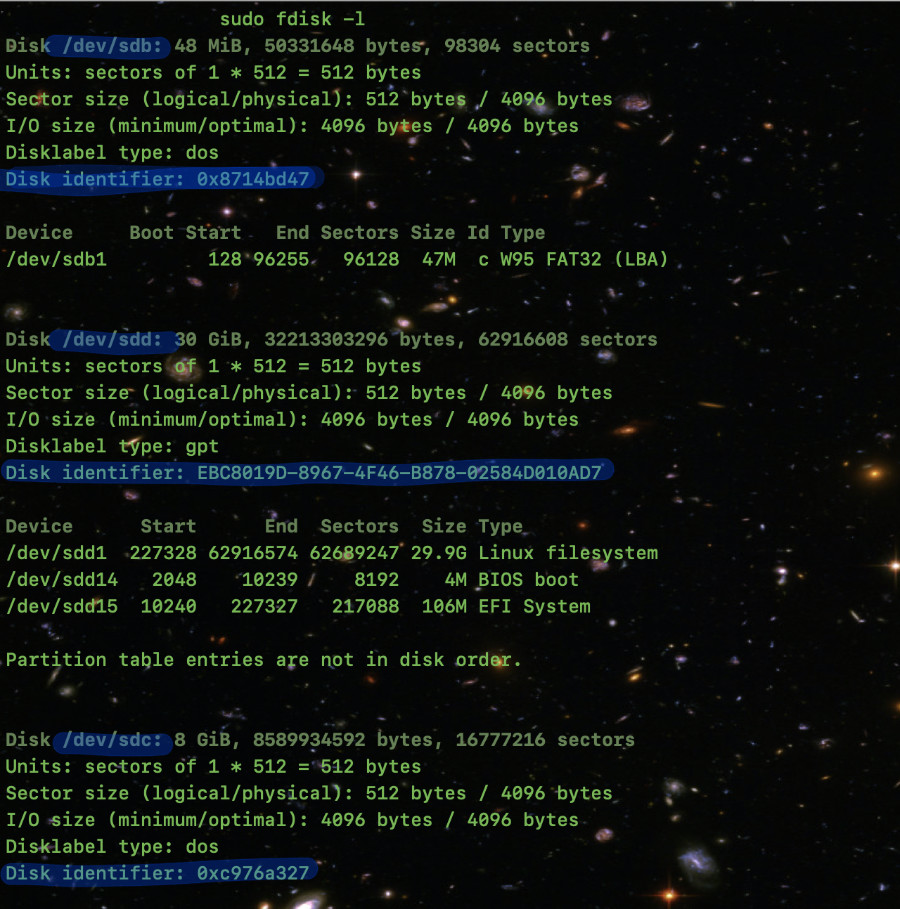
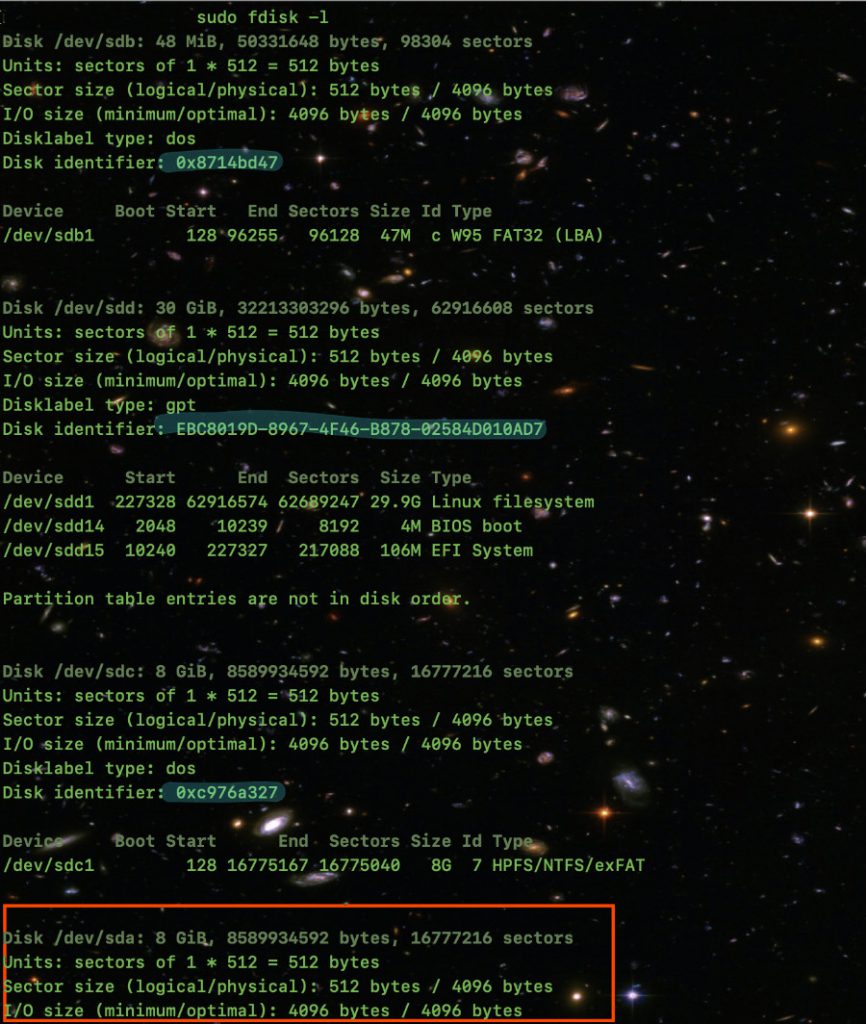
Before adding a new disk, it’s a good idea to see what is there now. This will make finding the new disk much easier. SSH in to the VM and run the command sudo fdisk -l
Create a new data disk
The data disk you create can be independent of the virtual machine. This means it could be created separately and used on any VM. Think of this step like going to the store and buying a new, blank hard disk drive. We’ll attach it to the VM later.
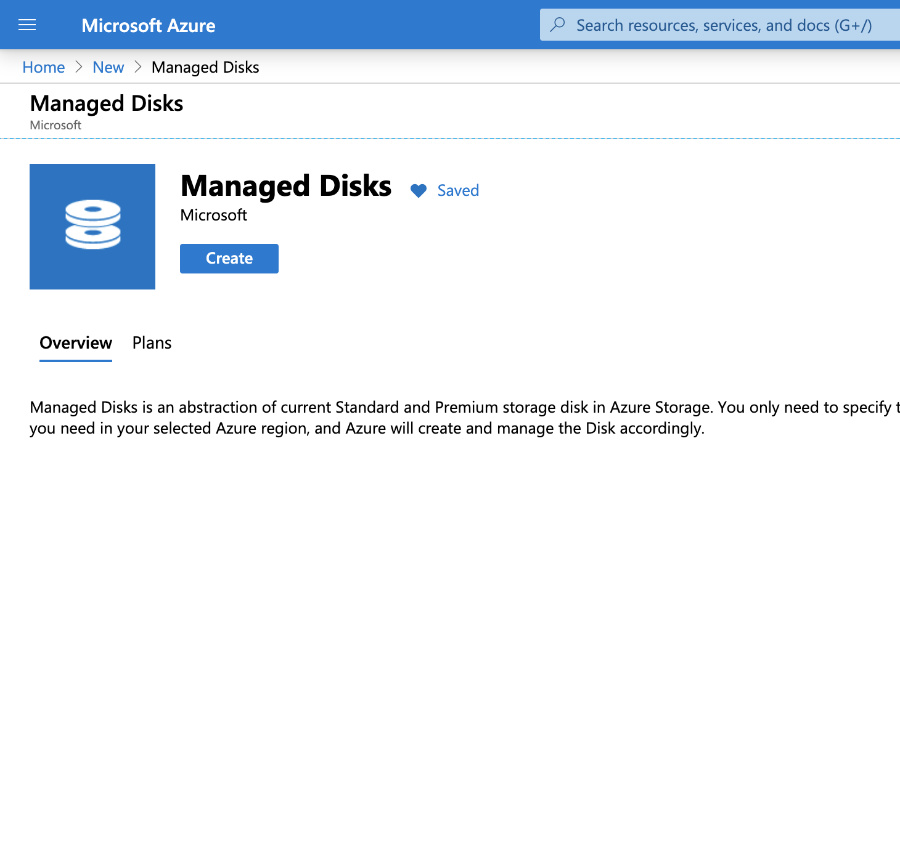
There are several ways to create a disk but in this exercise, let’s use the Azure portal to create a data disk on its own. Click on “Create a resource” in the Azure portal and search for “Managed Disks”.
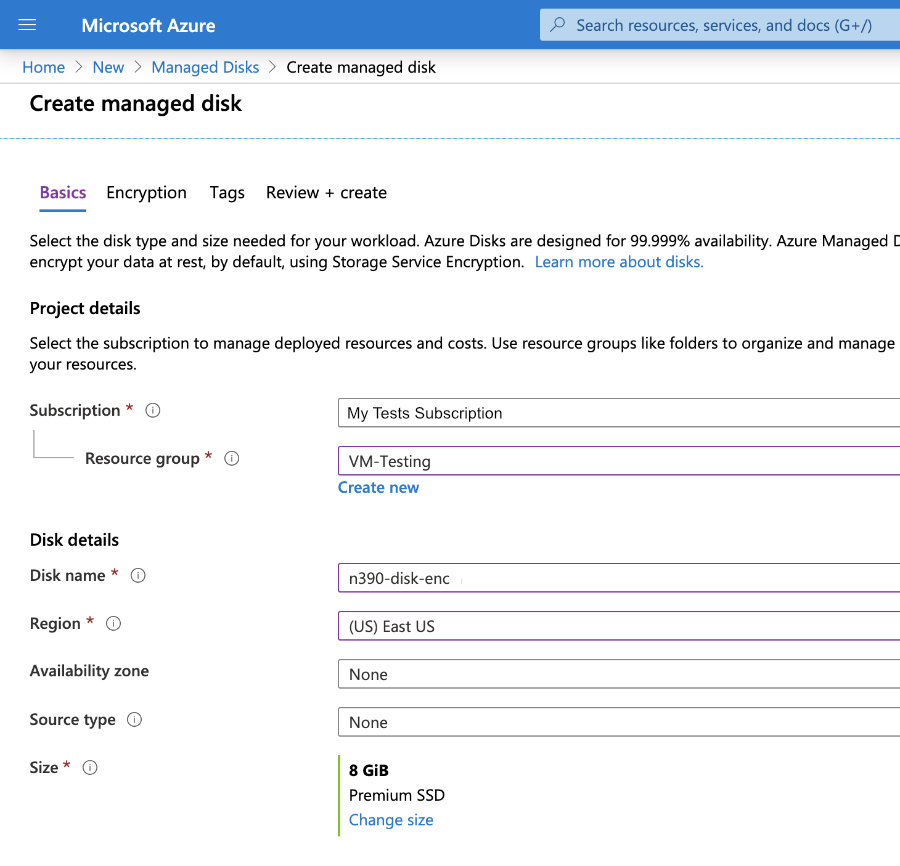
Platform managed encryption is the default and works fine for most cases. Encryption “at rest” means the data that is written to the physical disk in Azure’s data centers is encrypted. It is decrypted to put into memory as a virtual disk for your VM but the actual, physical disk is secured.
Attach the disk to your VM
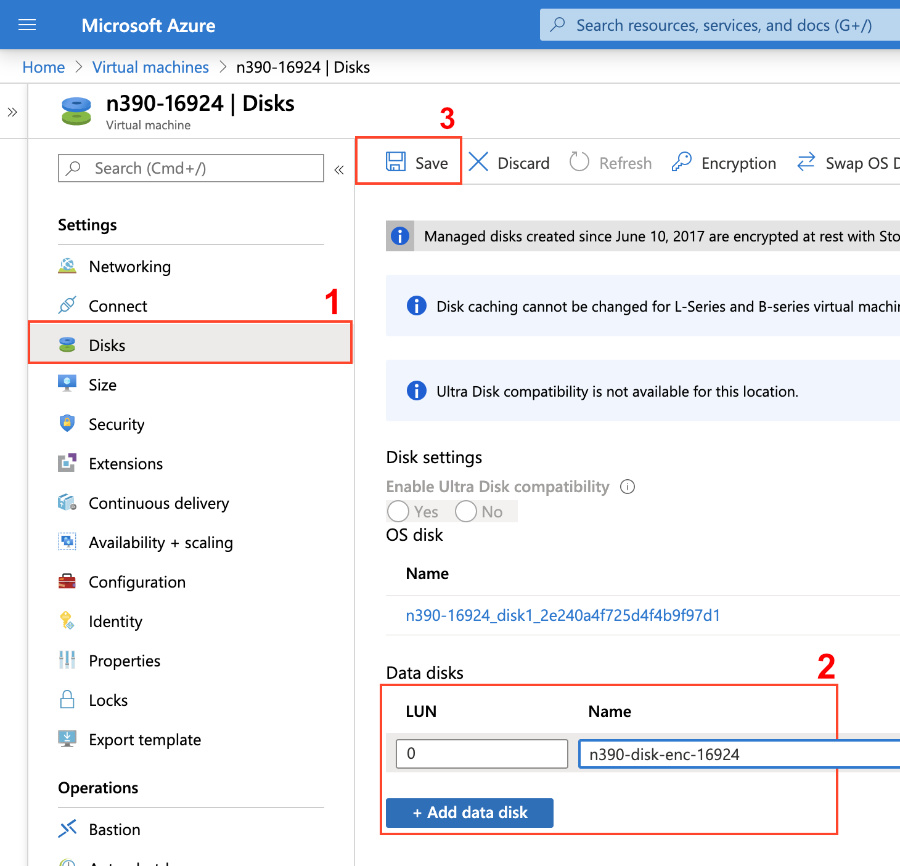
Go to the virtual machine you wish to add a data disk for.
You’ll notice in this step you could just as easily create a new disk directly to the VM. However, I created the one separately to highlight the flexibility and independence of data disks. This is an important concept and useful in many situations. For example, you could manage data disks in a different resource group and swap them around as needed.
- Click on Disks in the menu
- Click on “Add data disk” and select it from the drop-down list
- Save
Prepare the disk in Linux
Login the the virtual machine using SSH or the serial console in the VM pane. Preparation of a new disk for use in Linux is basically two parts:
- Partition the disk
- Write file system to the disk; Format it
First, find the new disk using the command sudo fdisk -l and compare with the set of disks found earlier. In this case the new disk is /dev/sda
Partition the new disk
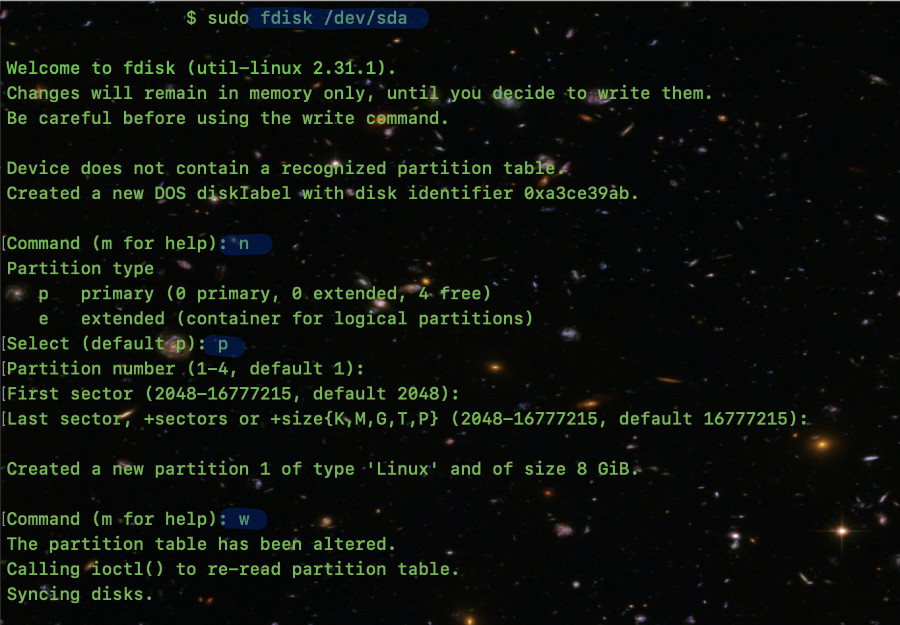
Now that we know with a high degree of confidence which is the new disk let’s partition it using fdisk:
sudo fdisk /dev/sda
- Use the n command to add a new partition.
- Choose p for a primary partition
- Accept the default values for the next three options
- Enter w to write the partition and finish
Format the new disk
Choose the file system format you want such as EXT4, FAT, MSDOS, etc. To see the different file system utilities on your system do: ls /sbin/mkfs*
In this case, we will format the disk with ext4 which is just fine.
Important! Notice the device path is now /dev/sda1. This is the result of partitioning the disk so make sure not to overwrite anything.
sudo mke2fs /dev/sda1
mke2fs 1.44.1 (24-Mar-2018)
Discarding device blocks: done
Creating filesystem with 2096896 4k blocks and 524288 inodes
...
done
Mount the disk
A word of caution. Microsoft Azure uses the /mnt directory as it’s temporary storage spot. Do not mount your disks there. To be safe, I like to create a new directory like /datadisks and use that.
$ sudo mkdir /datadisk
$ sudo mount /dev/sda1 /datadisk
$ df -h
Filesystem      Size  Used Avail Use% Mounted on
tmpfs           391M  668K  391M   1% /run
/dev/sdd1        29G  1.8G   28G   7% /
...
/dev/sda1       7.9G   18M  7.5G   1% /datadisk
Fix so the disk automounts
To ensure that the drive is automatically mounted after a reboot, add it to the /etc/fstab file.
Get the Universally Unique ID (UUID) of the new disk:
$ sudo -i blkid
...
/dev/sda1: UUID="27bdb6b5-2e86-4bd5-9e20-28eec9436a56"
Add an entry in the end of the /etc/fstab file like so:
$ sudo vim /etc/fstab

...

UUID=27bdb6b5-2e86-4bd5-9e20-28eec9436a56 /datadisk ext4 defaults,nofail 1 2
Finally, reboot the system to see if it all worked. My gosh, I hope you have a backup!